You have 0 items in your cart

£1.00 excl. VAT
Use our online wall panelling calculator to order your shaker wall panelling kit. Type in the width of your wall, the height of your panelling and the number of horizontal and vertical openings and our online panelling calculator will work out the rest.
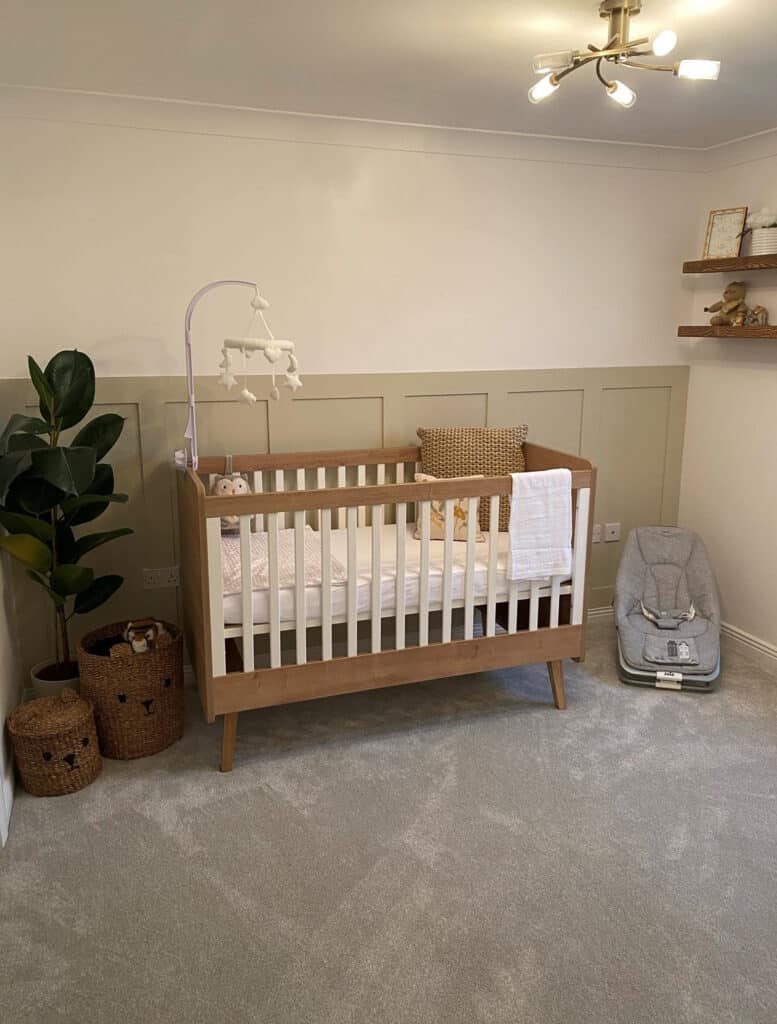
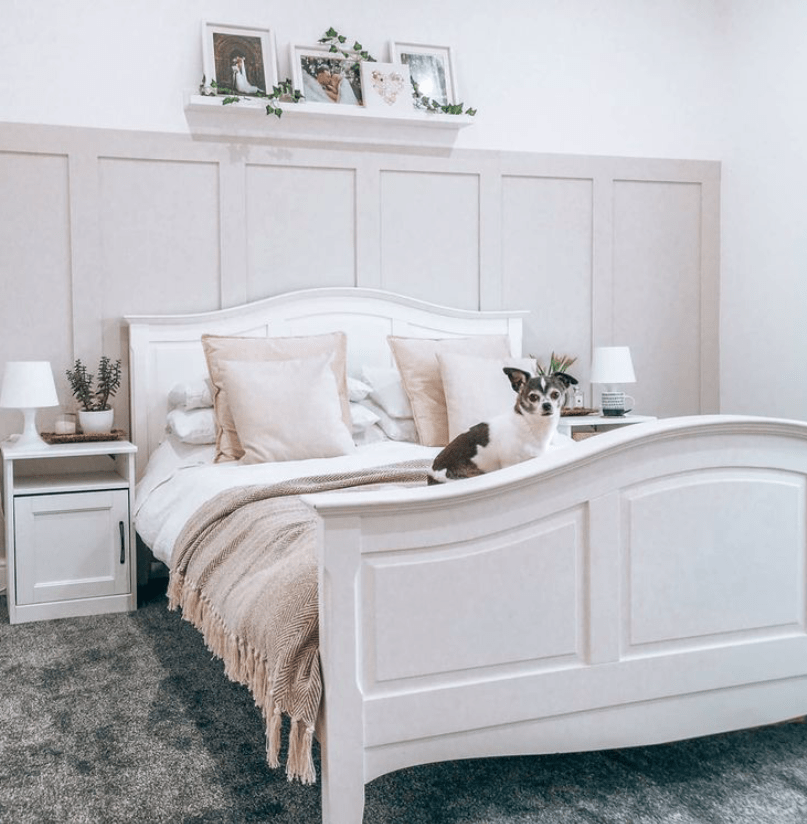
Our MDF Wall Panelling Kits are perfect for bedrooms, bathrooms, living rooms and other rooms around your home. Delivery within 3-7 days. Don’t forget to add your wall panelling dado rail and order your eco friendly wall panelling adhesive.


When ordering multiple walls, add the first wall to your cart and then repeat the process for each additional wall. Remember to allow for the thickness of the panelling on the previous wall.
The thickness of your wall panelling kit should be less than, and no greater than, the depth of the top edge of your skirting, any greater than this, and it will look unsightly.
The width of of the panelling kit it is down to personal choice, 100mm is the popular however, you may want to consider 75 or 80mm for smaller rooms or designs with smaller openings.
To help, plan your layout we would recommend drawing your design on the wall in pencil. If you change you mind, you can remove the previous pencil marks using a fine grade sand paper. We would recommend 75mm on narrower walls and a max of 100mm on wider walls. As mentioned above, drawing this out on you wall will you visualise the proportions,
When measuring the width for a single panelled wall, measure the top, middle and middle dimensions, relevant to your desired panelling height, and use the widest if you are happy to “scribe in” the end panels, or the narrowest if you are happy to caulk or fill the gap.
If you require two or more walls, use the same principal as above however, remember to allow (remove) the thickness of the panelling on the previous wall.
taller rather than wide, never wider than it is tall).
In no particular order, the following is a list of tools that you will need to fit our Wall Panel Kits…
If you have ordered one of our MDF Wall Panelling Kits then each of the components has been pre-cut to width, and length, and is ready to fit. The following How to fit Wall Panelling guide assumes you have purchased a kit or have the pre cut the components prior to fitting. We have also assumed that you will be fitting your panelling on top of your skirting board.
To get started, separate the uprights from the horizontal sections. The uprights are cut to the full height of your wall panelling (usually the longer pieces), the horizontals (usually the shorter pieces) fit between the uprights. If you end up with visible joints, this will look more natural than a join half way through a horizontal rail,
If you have room, set out the panelling on the floor and check the overall dimensions of the panelling vs the width of wall. It is is easier to correct any errors (on your part, or ours) at this stage rather than once it is glued to the wall.
Mark the middle point of your wall on the top edge, or face, of your skirt of your skirting board.
If you have an odd number of apertures mark the centre of a horizontal panel. Apply two beads of adhesive, one approximately 10-20mm from the top, and the same along the bottom, to the back side of the panel. Sit the bottom edge on top of your skirting, ensuring your centre marks line up, and apply to the wall with a little pressure. Ideally the panel will sit flush with, or slightly back from the top lip of the skirting board.
If you have even number of apertures, mark the centre point of a vertical panel and offer it up against the wall (before applying any adhesive) to the centre mark on the skirting. Using a sprit level, ensure the panel is perfectly upright, then lightly mark the wall, each side of the panel, with a pencil. Once you have done this, carry out the same procedure, as described above, ensuring your panel sits between the pencil marks.
Now you have the foundations to continue fitting you wall panelling, the next stage should be “plain sailing”. If you have started with a horizontal you should ensure the verticals, either side, are upright using a spirt level and ensure the horizontal fits between the uprights. Once you are confident they do, mark both sides of each horizontal with a pencil, apply adhesive to each vertical panel and apply. Apply adhesive to the horizontal panel and fit between the uprights ensuring the gaps are tight and flush with the panels alongside it.