You have 0 items in your cart

£53.40 excl. VAT sq m
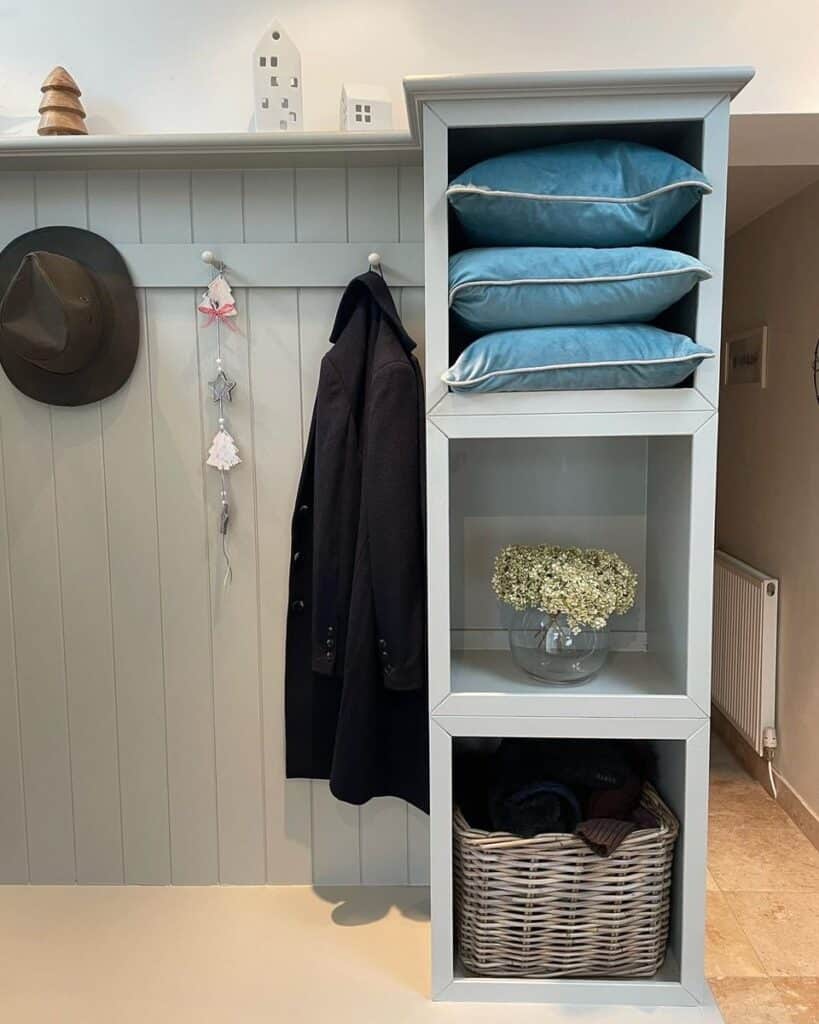
Our pre-primed Bead and Butt MDF wall panelling is designed to recreate a traditional Bead & Butt effect but without the labour intensive fixing, cupping and cracking between each join, that is often associated with the original timber version.
Machined from 9mm moisture resistant MDF and pre-primed, ready for painting, our Bead and Butt MDF panels are perfect for decorative wall panelling projects in low to mid moisture environments such as…
Ordering Bead & Butt MDF wall panelling, cut to size online, can be difficult due the pitch of the groove detail vs the width of your wall. To overcome this, we have added a simple ordering system where you can individually enter each wall that requires panelling.
To order Bead & Butt Panelling online “simply” follow the instructions below…
Measuring the height
If measuring from the floor, and sitting your panelling on top of your skirting, don’t forget to allow for your skirting board height.
If using our purpose made wall panelling Dado Rail, reduce your panelling by the overall height of the Dado to allow for your desired overall height.
Please remember to consider how your wall panelling and dado will fit alongside or around window sills and other features within your room.
The maximum height for our Bead & Butt MDF panelling is 2400mm.
To keep joins to minimum, try to keep low wall panelling designs below 1200mm.
Measuring for one wall
Check the width of the wall, at various heights (top,middle & bottom), where the panelling will fit, then use the widest measurement.
You do not need to be too accurate as gaps of 2 or 3mm, either end, can be caulked after fitting and prior to priming/painting.
For walls that are uneven or “out of plumb” we would recommend you allow extra width for “scribing in”
Measuring for multiple walls
Decide which wall you would like to start with and then work from left to right. We will label the walls in the order they are placed, the first measurement will be panel one, the second panel two, etc.
Mesure the first wall as described above and the add to cart.
Measure the second wall (as above) but reduce the overall width by 9mm to allow for the thickness of the first and add to your cart. Measure the third (as above) also reducing by 9mm to allow for the thickness of the second panel.
Where a panel sits between two others (a fourth panel between the first and third, in a four walled room, for example) you will need to remove 18mm to allow for the thickness of the first and third panels.
Remember, small gaps of 2 0r 3mm can be caulked. In addition, the thickness of the second panel will cover a gap of 3-6mm at the end of the first, the thickness of the third panel will cover a gap at the end of the second.
If you have ordered your panels from us the they will be cut to width to ensure the joins fall within a groove and the spaces at the end of each panel will be equally spaced. In addition, they will be numbered from left to right and, in the case of multiple panels making up a run, they will be marked in order of fitting.
Fitting panelling to one wall
Place your panel(s) on your skirting, or into position, and tape into place ensuring your are happy with the gaps at either end. If you have ordered your panels oversize, scribe in to fit. Once you are happy with the fit, bond it to your wall using a suitable wall panelling adhesive.
Fitting panels to multiple walls
Starting with panel(s) labelled one, work from left to right ensuring the gap on the right is no greater than 6mm and tape into place using masking tape.
Position panel(s) labelled two, working from left to right, position it no more than 2 or 3mm (allowing for caulk) from panel one ensuring the gap on the right is no greater than 2 or 3mm if no third panels is to be fitted, or 6mm, if there is. Repeat for panel three.
When fitting a fourth panel (in a four wall room scenario) between panels one and three, ensure you are happy with the gap either end, ideally no more 2 or 3mm. Once you are happy with way everything fits you can fix your panels into place.
Our panels are cut from pre-primed.moisture resistant, when cut, the edges of the boards are exposed MDF. When painting Bead & Butt panelling, and despite it being moisture resistant, we would highly recommend you prime all cut edges prior to fitting to further protect your panels from humidity and potential water ingress, particularly if used in a bathroom.
In addition, and after fitting, we would also recommend a final coat of primer to cover the caulk, and any filled fixing holes, along with a coat, or two, of a suitable top coat for bathroom and kitchen environments.
| Thickness (mm) | 9 |
|---|